

Last Updated: November 19, 2026
Quick Summary
Professional surfboard shaping supplies start with a dedicated shaping stand, a single low side light, and a clear bench, then a planer, surform, sanding block, calipers and template. Add dust collection, a respirator, and fiberglass and epoxy supplies for glassing. Shaping kits start from $400 AUD and include everything needed to shape a balsa board except the tools.
- The surfboard shaping stand ships in six pieces with sixteen screws and assembles quickly on arrival.
- Place one strong light low and to one side; two lights wash out the flaws you need to see.
- Calipers for measuring thickness are made from marine ply with a flat measuring surface and need no adjustment.
- The velcro sanding block takes 6-inch discs and has edges and corners for work close to fins.
- Buy the planer and calipers first, then add sanding and finishing tools as you need them.
Table of Contents
- Setting Up Your Shaping Bay with Professional Surfboard Shaping Supplies
- Choosing Your Surfboard Blanks: Foam Core vs. Solid Wood
- Essential Surfboard Shaping Tools for Precision Work
- Surfboard Shaping Dust Collection Setup: Protecting Your Health
- Surfboard Fiberglass and Epoxy Supplies for Glassing
- Cost-Benefit Analysis: DIY vs. Professional Surfboard Shaping Supplies
- Troubleshooting Common Shaping Errors and Tool Maintenance
- Building Your Board with Riley Balsa Wood Surfboards
- Frequently Asked Questions
Setting Up Your Shaping Bay with Professional Surfboard Shaping Supplies
Getting the right professional surfboard shaping supplies starts with the room itself. A shaping bay needs steady light, a solid stand, and a layout that keeps dust and tools under control before you touch a blank.
Surfboard shaping is the process of cutting, planing and sanding a blank into a finished board shape. A dedicated surfboard shaping stand holds the blank at working height and lets you rotate it as you move from rail to rail.
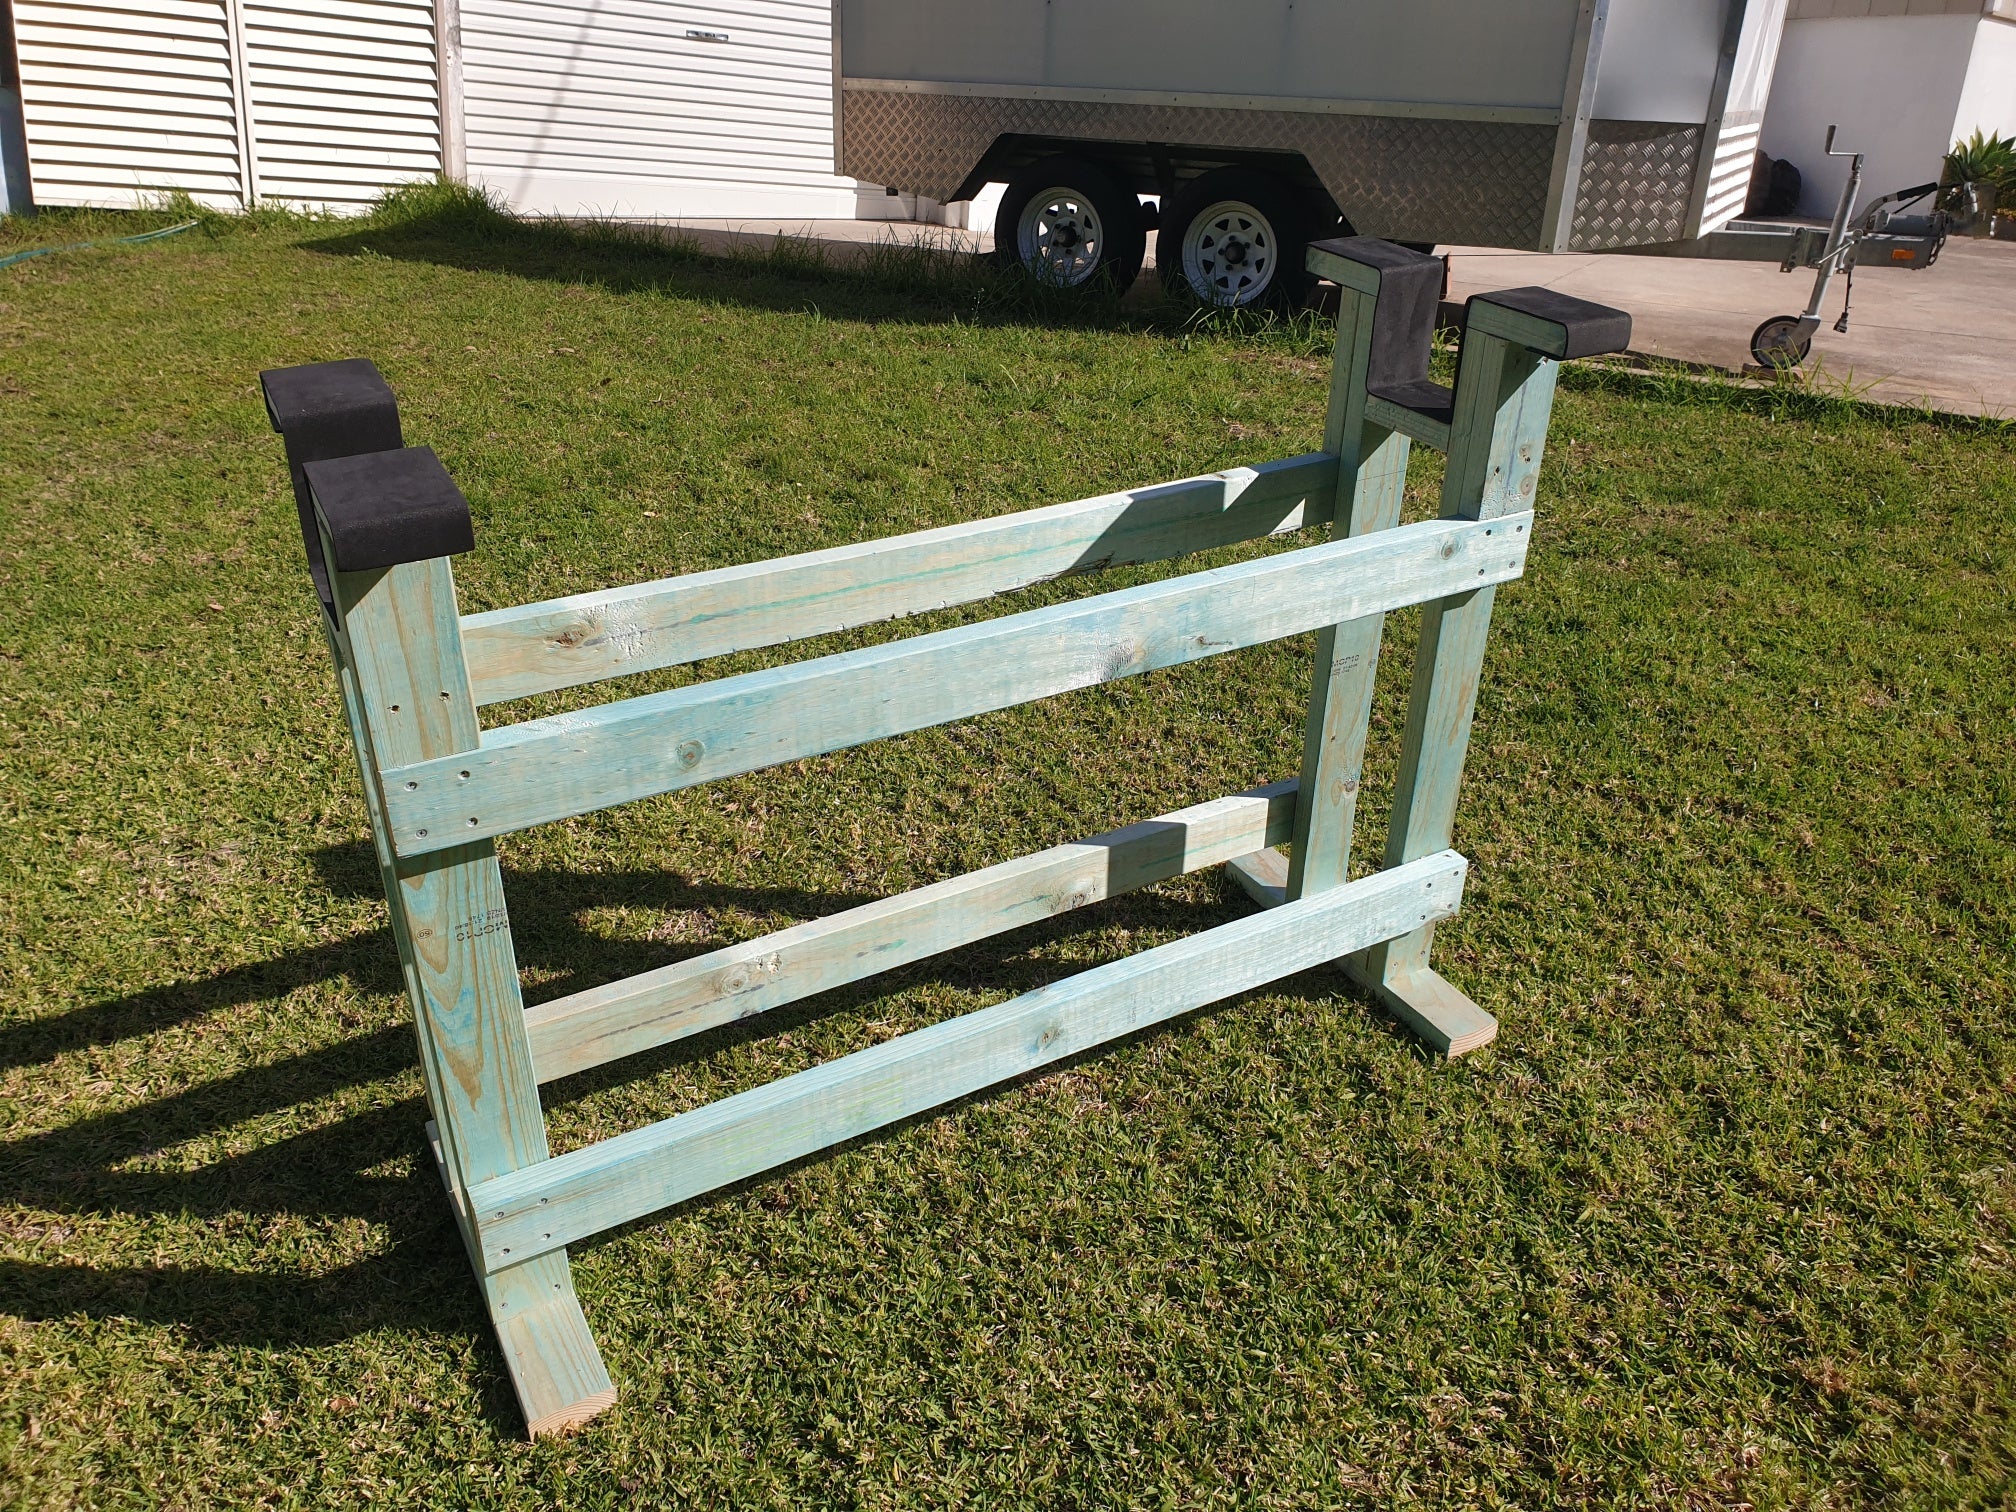
Light matters as much as the stand. Place a single strong light low and to one side so shadows reveal bumps and high spots as you run your hand across the foam.
Keep your bench clear.
Choosing Your Surfboard Blanks: Foam Core vs. Solid Wood
Surfboard blanks fall into two families: foam cores and solid timber. The choice shapes everything that follows, from weight to how long the build takes.
Recycled Polystyrene Foam Blanks
Recycled polystyrene foam blanks are made from old foam packaging that would otherwise go to landfill. It is granulated, steamed into a block, then hotwire cut into blanks with standard rockers for shortboards, fishes, mini mals and longboards. Browse our polystyrene foam blanks to see the sizes we cut.
Foam core is the option for a board you intend to ride with performance, rather than one to hang on a wall.
Solid Balsa and Foam-Core Kits
Solid balsa boards are the traditional build, and they came before foam for a reason: they were lighter than solid pine, cedar or koa. Solid balsa boards are the more environmentally friendly option, though they are more expensive and a bit harder to make than foam core.
Our shaping kits start from $400 AUD and include everything needed to shape a balsa board except the tools. Choose a lightweight modern foam-core kit or a solid heavy classic kit.
Best for: foam core if you want to surf it; solid balsa if you want the classic build and the eco story. Skip if: you want a quick weekend project with no learning curve. Both kits reward patience.
Essential Surfboard Shaping Tools for Precision Work
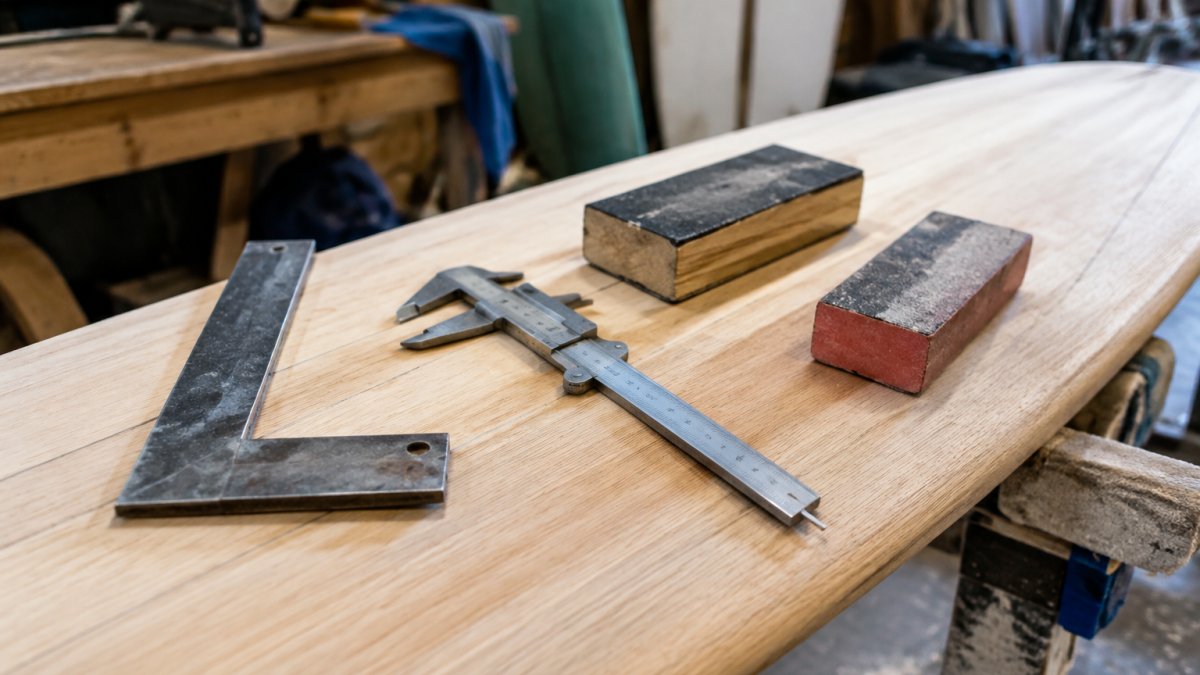
The core surfboard shaping tools are a planer, a surform, a sanding block, calipers and a template. Buy these well once and they will outlast several boards.
Measuring and Marking Tools
Accuracy starts with measurement. Calipers check thickness along the stringer, while a template ruler confirms outline widths. Our calipers for measuring surfboard thickness have a flat measuring surface and are made from marine ply, with no adjustment required. Pair them with a layout square for fin placement.
Sanding Blocks and Finishing Tools
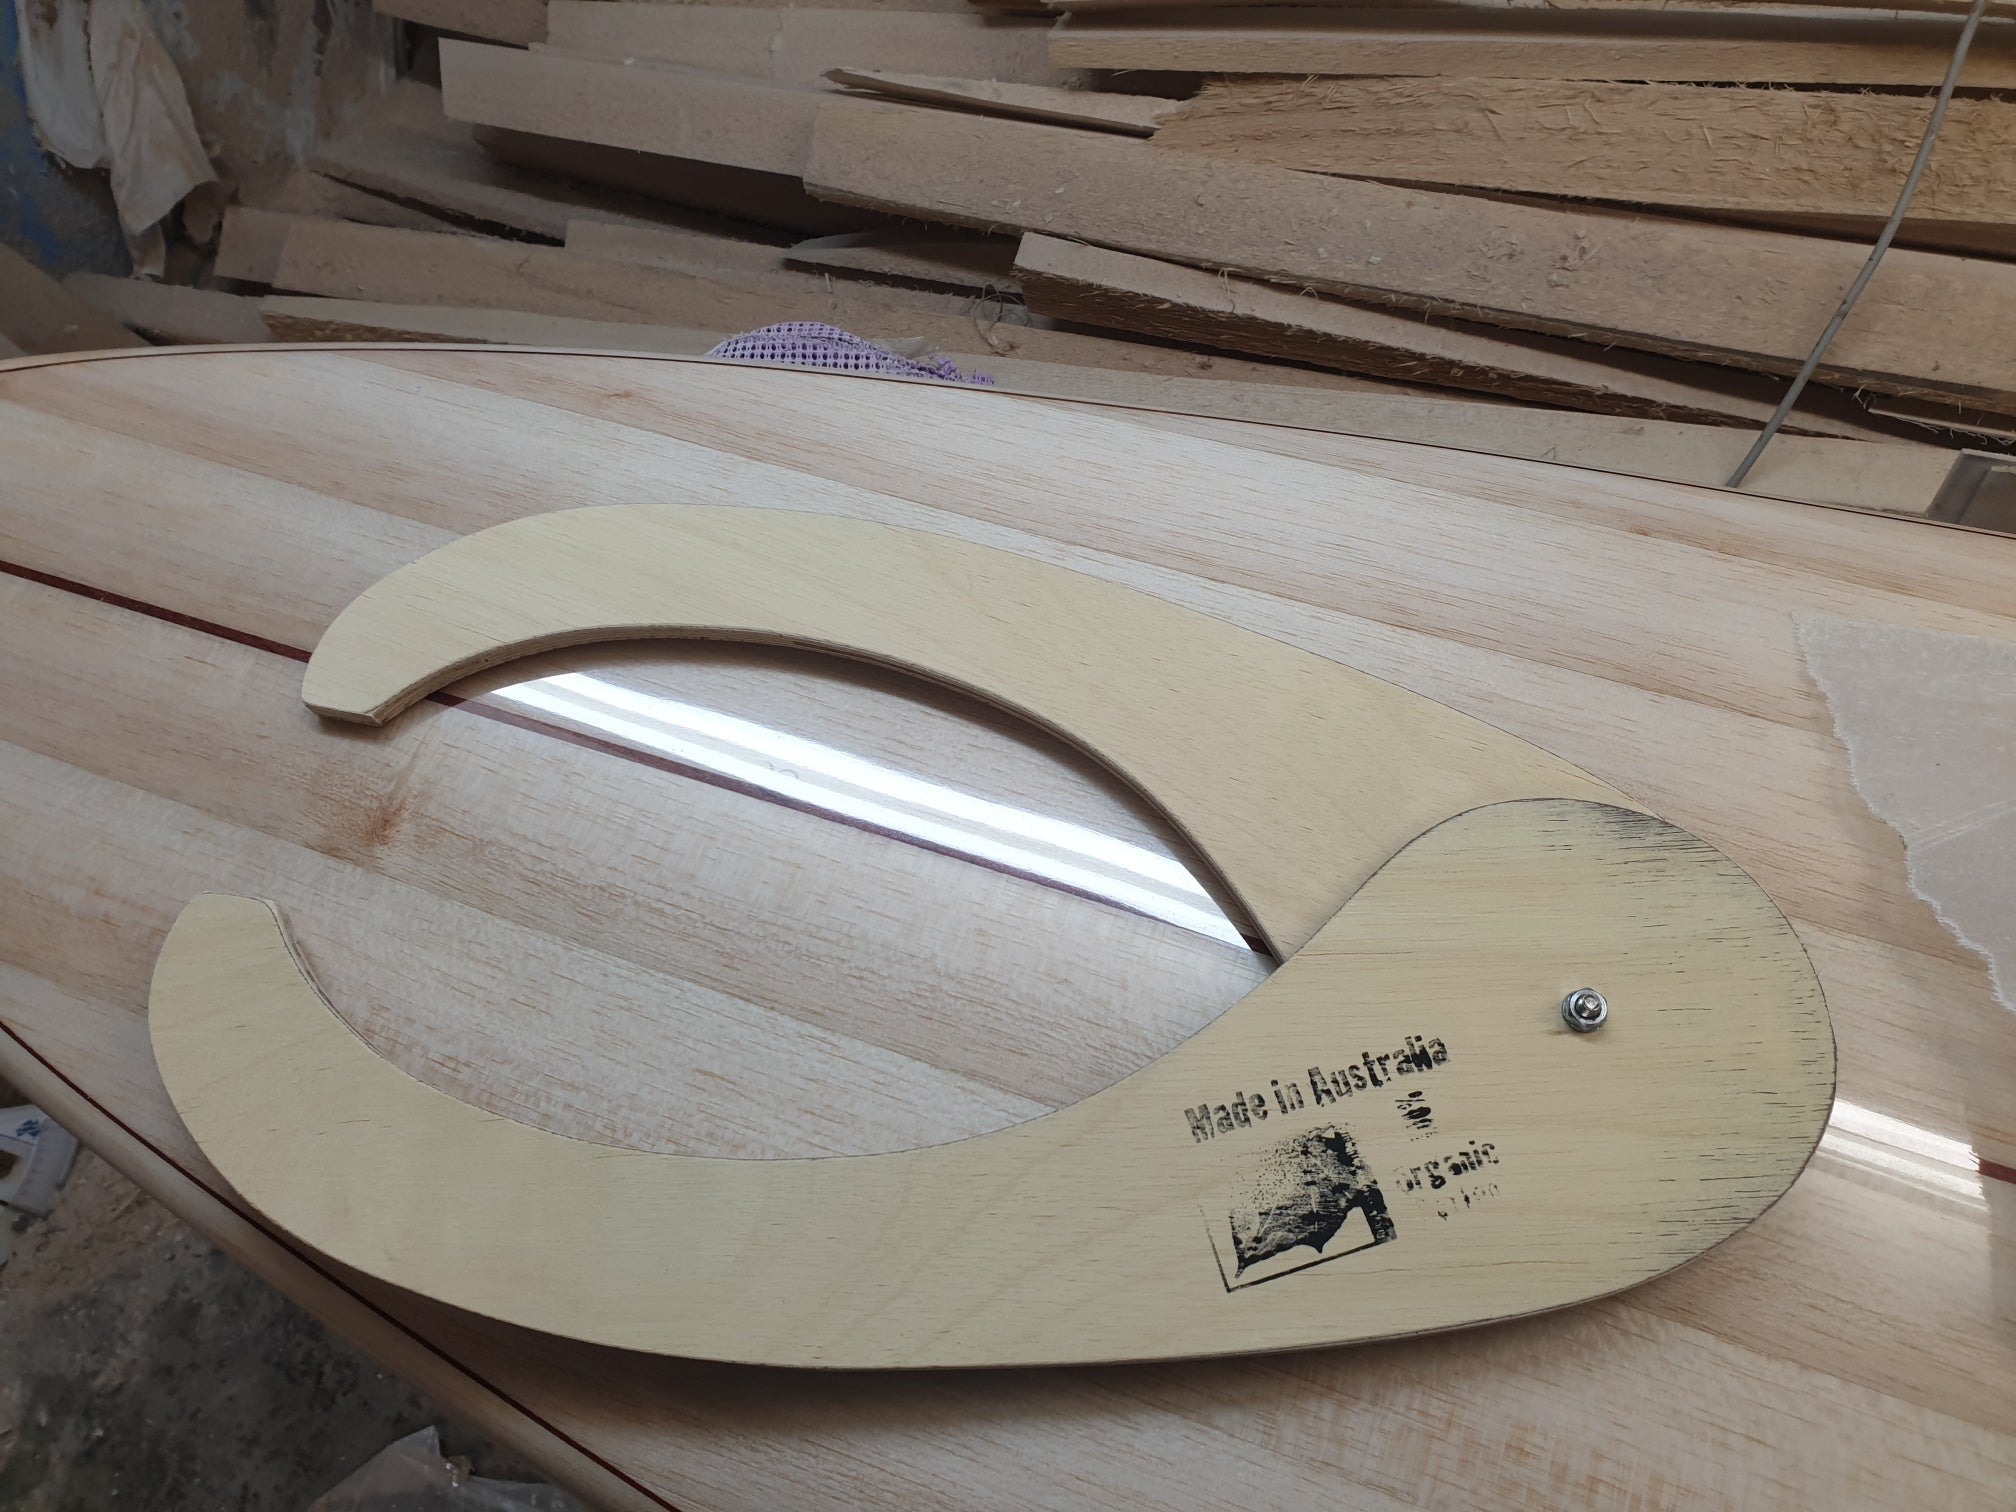
Sanding is where a rough shape becomes a clean one. A double-sided velcro block lets you flip between paper grades for different densities, stringers and curves, and the balsa side keeps the block light. Our velcro sanding block takes 6-inch discs and has edges and corners for sanding close to fins and glass bridges.
Surfboard Shaping Dust Collection Setup: Protecting Your Health
Dust is the part of board building nobody photographs, and foam dust and wood dust both belong in a collector rather than in your lungs. A proper surfboard shaping dust collection setup keeps dust under control at the source.
Run extraction whenever a planer or sander is on. Sweep or vacuum the bay at the end of every session rather than letting dust build on the floor and racks.
Watch out: sanding without a respirator in a closed garage is the most common shortcut beginners take, and the one with lasting consequences. Wear the mask, keep the bay ventilated, and change filters on schedule.
Surfboard Fiberglass and Epoxy Supplies for Glassing
Glassing turns a shaped blank into a board that survives water. Surfboard fiberglass and epoxy supplies include cloth, resin and hardener, mixing cups, a laminating squeegee and sanding materials for the hot coat and gloss coat.
Balsa is not waterproof, so all woods must be glassed to protect them from UV and water. Riley Balsa Wood Surfboards says a properly glassed balsa board will last a lifetime.
Measure resin and catalyst precisely, mix in clean cups, and work in a dust-free space. Curing time changes with temperature, so plan glassing for a warm, stable day.
Cost-Benefit Analysis: DIY vs. Professional Surfboard Shaping Supplies
A store-bought board is cheaper up front. Building your own takes more time, but the result is a board shaped to your own wishes.
Where to Spend and Where to Save
Invest in these tools:
- Planer: This is the tool that shapes the board. A cheap planer with a flimsy base plate will never hold calibration, and a dull blade will tear foam. Buy one with a stable depth adjustment and a reputation for holding tolerance; a mid-range planer from a known brand outlasts two or three cheap units.
- Calipers: Accuracy here directly affects thickness and rail symmetry. Marine ply calipers with a flat measuring surface are affordable and reliable; avoid plastic calipers that flex.
- Sanding blocks: A double-sided velcro block with a balsa side keeps weight down and accepts standard discs. Cheap blocks dish quickly and round over rails.
Save on these tools:
- Surform: A basic surform with a replaceable blade does the job. Spend the savings on blades.
- Templates: You can make your own from masonite or plywood using a known outline. A purchased template is convenient but not essential for a first build.
- Mixing cups and squeegees: Buy in bulk and treat them as consumables. There is no performance advantage to expensive squeegees.
The Real Break-Even Point
| Approach | Upfront Cost | Time | What You Get |
|---|---|---|---|
| Buy a finished board | Lower | None | A board that works, no skills gained |
| DIY with a kit and basic tools | Kit from $400 AUD plus tools | Several weekends | Custom board, reusable tool kit |
| Professional shop build | Highest | Weeks of lead time | Full custom, no labour from you |
If you are weighing a full tool purchase, our guide to the best tools for shaping surfboards covers what each one does before you commit. A common pattern is to buy the planer and calipers first, then add sanding and finishing tools as you need them, rather than buying a full kit at once and discovering half of it sits unused.
Troubleshooting Common Shaping Errors and Tool Maintenance
Most shaping errors trace back to a dull tool, a rushed measurement, or a skipped calibration step. A planer blade that grabs instead of slicing leaves tear-out in the foam, and dropped calipers will lie to you. The fix is a maintenance routine that keeps your professional surfboard shaping supplies working as intended.
Diagnosing and Fixing Common Shaping Errors
- Ridges along the rail: usually a sanding block held at an angle. Flatten the block on a known-flat surface, then work diagonally across the ridge with light pressure. Your palm will feel a ridge before your eye sees it.
- Uneven thickness: recheck with calipers every few passes, not at the end. Mark the target thickness on the stringer with a pencil and stop planing when you reach the line, measure both rails independently rather than assuming symmetry.
- Torn foam: sharpen or replace the planer blade. A sharp blade cuts, a dull one tears, and on EPS foam even a slightly dull blade pulls chunks. Keep a spare set and swap at the first sign of resistance.
- Fin marks off centre: use a layout square and mark both sides before drilling. Measure from the stringer, not the rail. If the marks are off, fill the hole with a foam-safe epoxy mixed with microballoons, let it cure, and re-drill.
- Glue squeeze-out on balsa: wipe while wet, then fill gaps with a light balsa putty once dry. For structural gaps, use an epoxy thickened with cabosil, never rely on putty alone where the gap crosses a rail or stringer.
- Gouges from a planer skip: a planer that skips or chatters usually has a loose blade drum or worn belt. Tighten the drum, check belt tension, and make sure the base plate is flat. If the gouge is deep, fill with a foam-safe spackle, let it cure, and re-plane with light passes.
Tool Maintenance and Calibration for Precision
A shaping bay runs on tools that stay true.
Sharpen planer blades on a diamond stone, maintaining the original bevel angle.
Store calipers flat and check them against a known thickness before each use. If the measuring surface is worn or dropped, retire it, a caliper that lies is worse than no caliper.
Clean tools after every session. Blow dust out of the planer with compressed air, wipe resin off squeegees before it cures, and store calipers flat.
Building Your Board with Riley Balsa Wood Surfboards
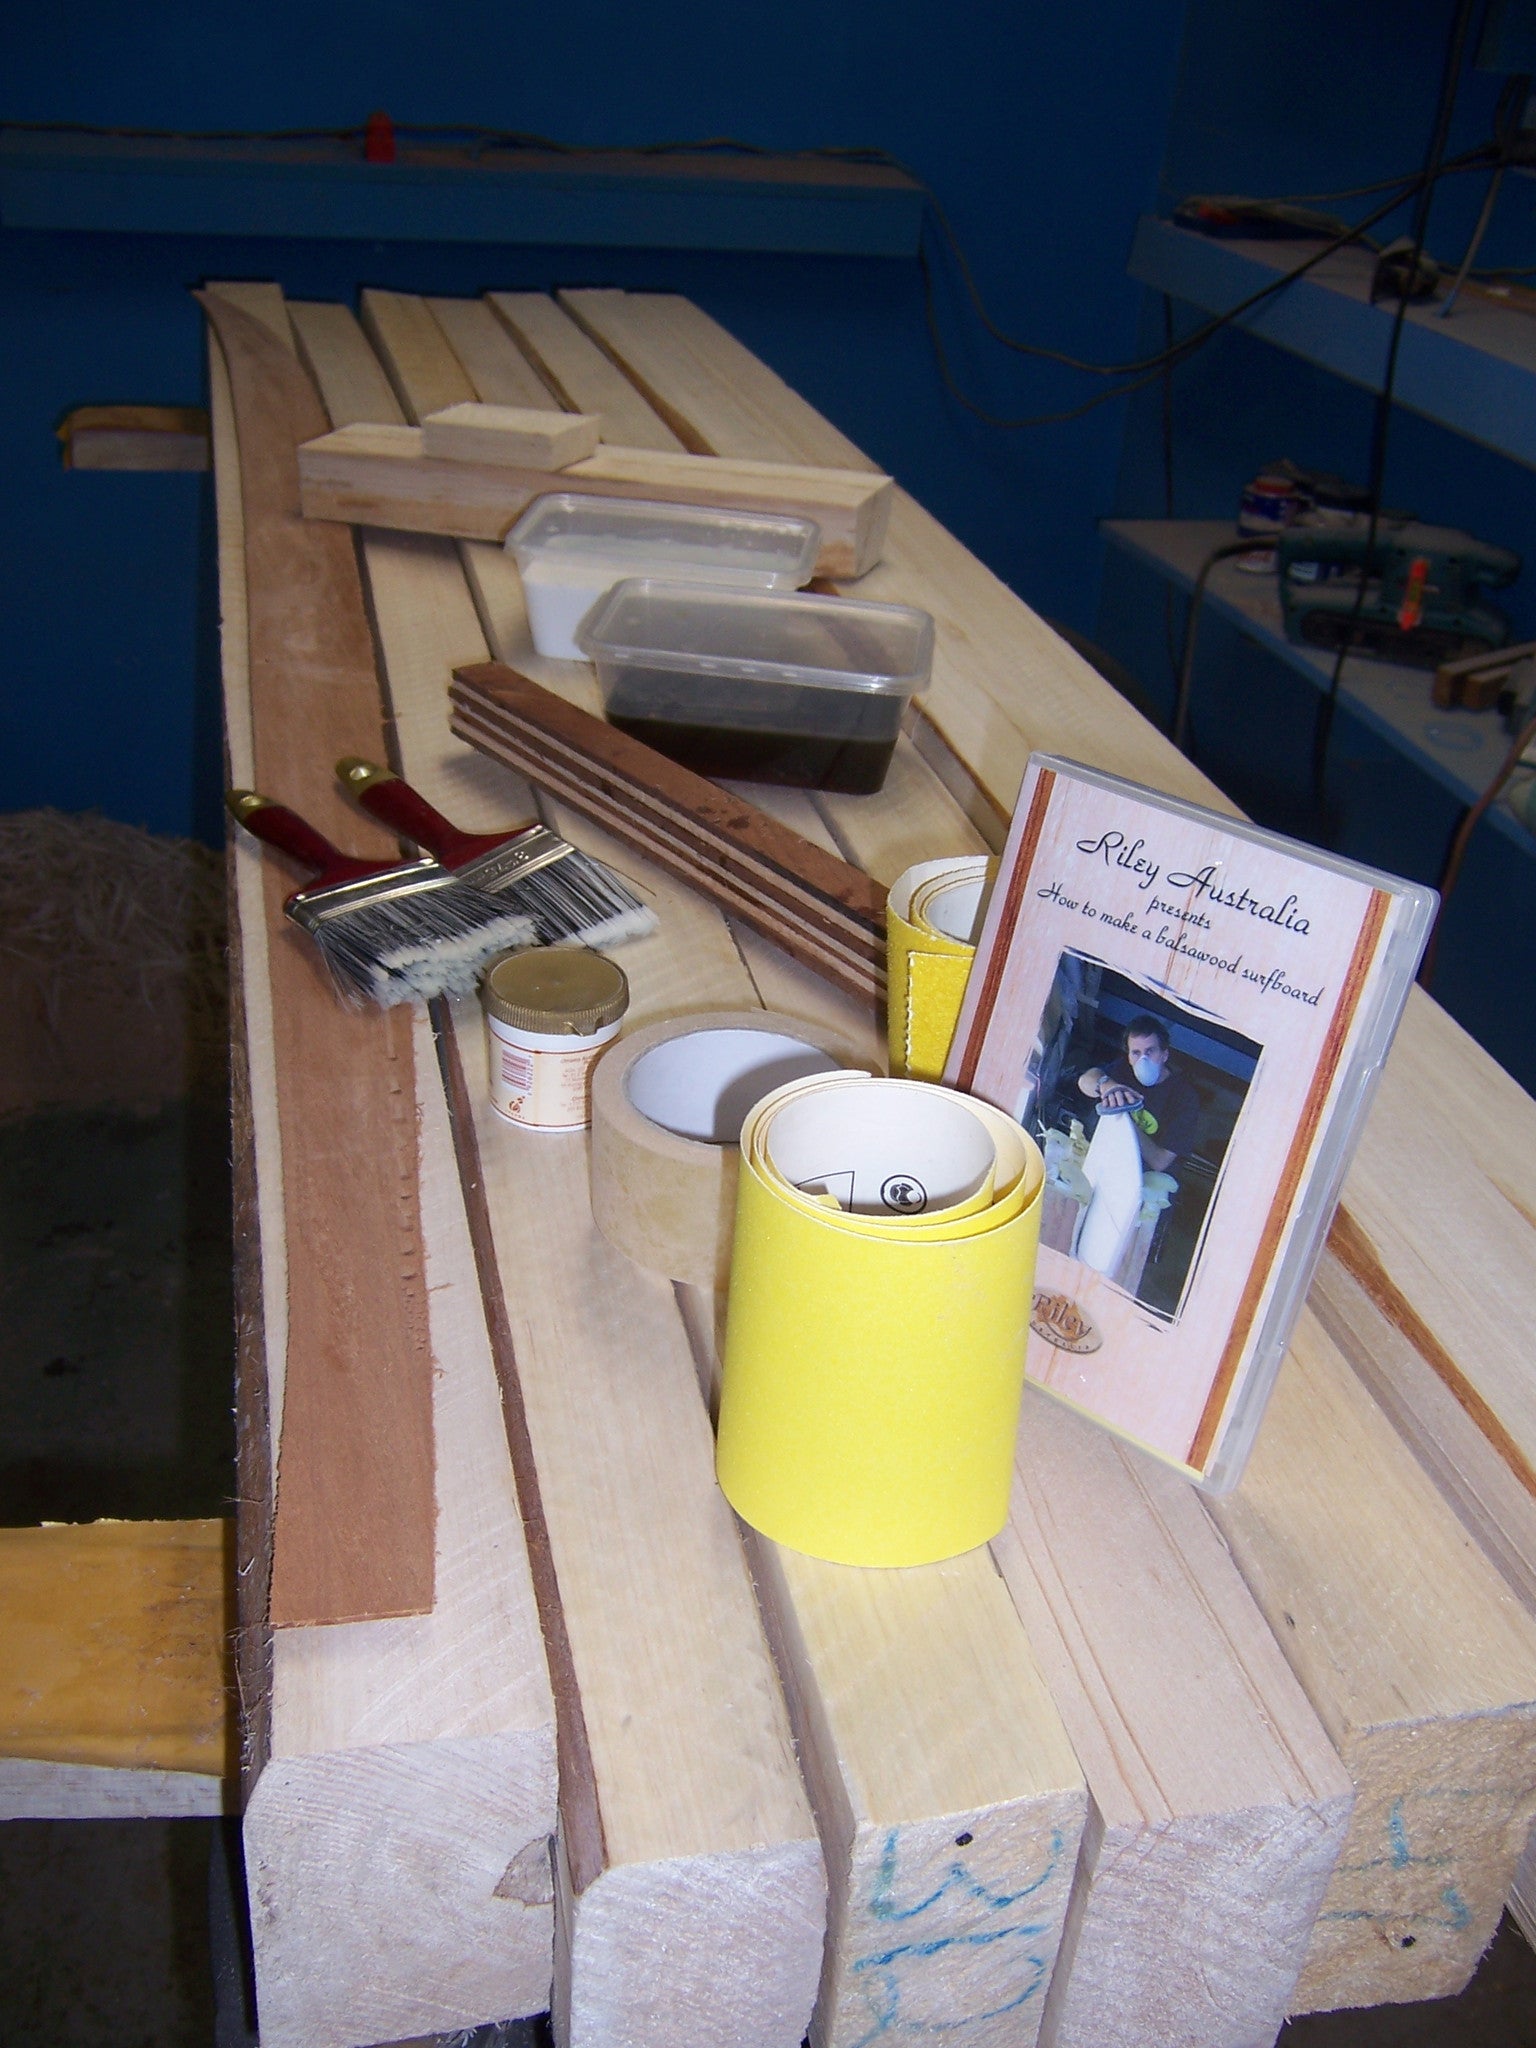
Balsa surfboard building can feel intimidating for beginners. Riley Balsa Wood Surfboards kits come with a DVD and instructions, and you can build in the workshop with Mark or buy a kit and build at home, at school, or in your own workshop.
Riley Balsa Wood Surfboards does not keep any stock. Every board is custom made and handmade in Australia, in Sydney at Cronulla, with international delivery including to Hawaii and the USA.
Start with a balsa surfboard shaping kit. The DVD and instructions make the process hard to get wrong.
Building a board is a test of patience more than skill.
Frequently Asked Questions
What supplies do you need to shape a surfboard?
You need a blank, a shaping stand, measuring tools like calipers and layout squares, sanding blocks, and safety gear. For glassing, you will need fiberglass cloth, epoxy or polyester resin, and a laminating squeegee. Riley Balsa Wood Surfboards offers kits starting at $400 AUD that include many of these materials, though you will need to supply your own tools.
Can beginners use professional surfboard shaping tools?
Yes, beginners can use professional tools, but it helps to start with a guided kit. Riley Balsa Wood Surfboards provides a DVD and instructions with their kits to make the process less intimidating. Using quality tools like a proper layout square and balsa sanding blocks helps you avoid common mistakes and achieve a better finish on your first board.
What is the best foam for shaping a surfboard?
The best foam depends on your goals. Recycled polystyrene foam blanks are a common choice for eco-conscious builders. Riley Balsa Wood Surfboards offers recycled polystyrene blanks made from old packaging, which are hotwire cut and available with custom rockers. For a more traditional feel, you can choose a foam-core kit with a balsa skin.
How do you choose a surfboard blank?
Choose a blank based on the type of board you want to ride and the performance you need. For a rideable, high-performance board, a foam-core blank with a balsa skin is a good option. Solid balsa boards are better suited for cruisers or collectors. Riley Balsa Wood Surfboards recommends foam core if you want performance, even as a beginner.
What dust collection setup is best for surfboard shaping?
A good dust collection setup includes a shop vacuum with a HEPA filter, a dust mask, and a dedicated sanding area. Riley Balsa Wood Surfboards kits include a dust mask and disposable protective overalls to help you get started safely. For the best results, use a sander with a dust port and keep your workspace well-ventilated.

0 commentaire